Want to turn a lump of clay into something useful—or wonderfully wonky? Handbuilding and wheel throwing both shape clay by hand, but they feel different from the start. Handbuilding uses simple tools and direct shaping, while wheel throwing relies on a spinning wheel and steady coordination. Neither method is the “right” one for beginners. The best place to start depends on what you want to make, how you like to work, and whether you enjoy careful repetition or building piece by piece.
Tools and setup
Handbuilding needs a work surface, clay, and a few basic tools, such as a wooden rib, needle tool, and sponge. A rolling pin or slab roller helps flatten clay for slabs, while simple household objects can create textures or shape forms. You can work without a pottery wheel, which makes this approach easy to explore in a small studio or class.
Wheel throwing centers on the pottery wheel, along with tools such as a sponge, wire cutter, and trimming tool. You’ll also need water to keep the clay workable and a splash pan to catch it. The wheel takes up more space, and setup matters: a stable seat, a comfortable working height, and room to move help you focus on the clay instead of your posture.
How each technique works
Handbuilding covers several methods. Pinching starts with a ball of clay that you press and shape with your fingers. Coiling builds a form from rolled strands, while slab work joins flattened pieces. For joined parts, score the surfaces, add slip, and press them together firmly. Build walls at an even thickness and smooth joins so the finished piece dries more reliably.
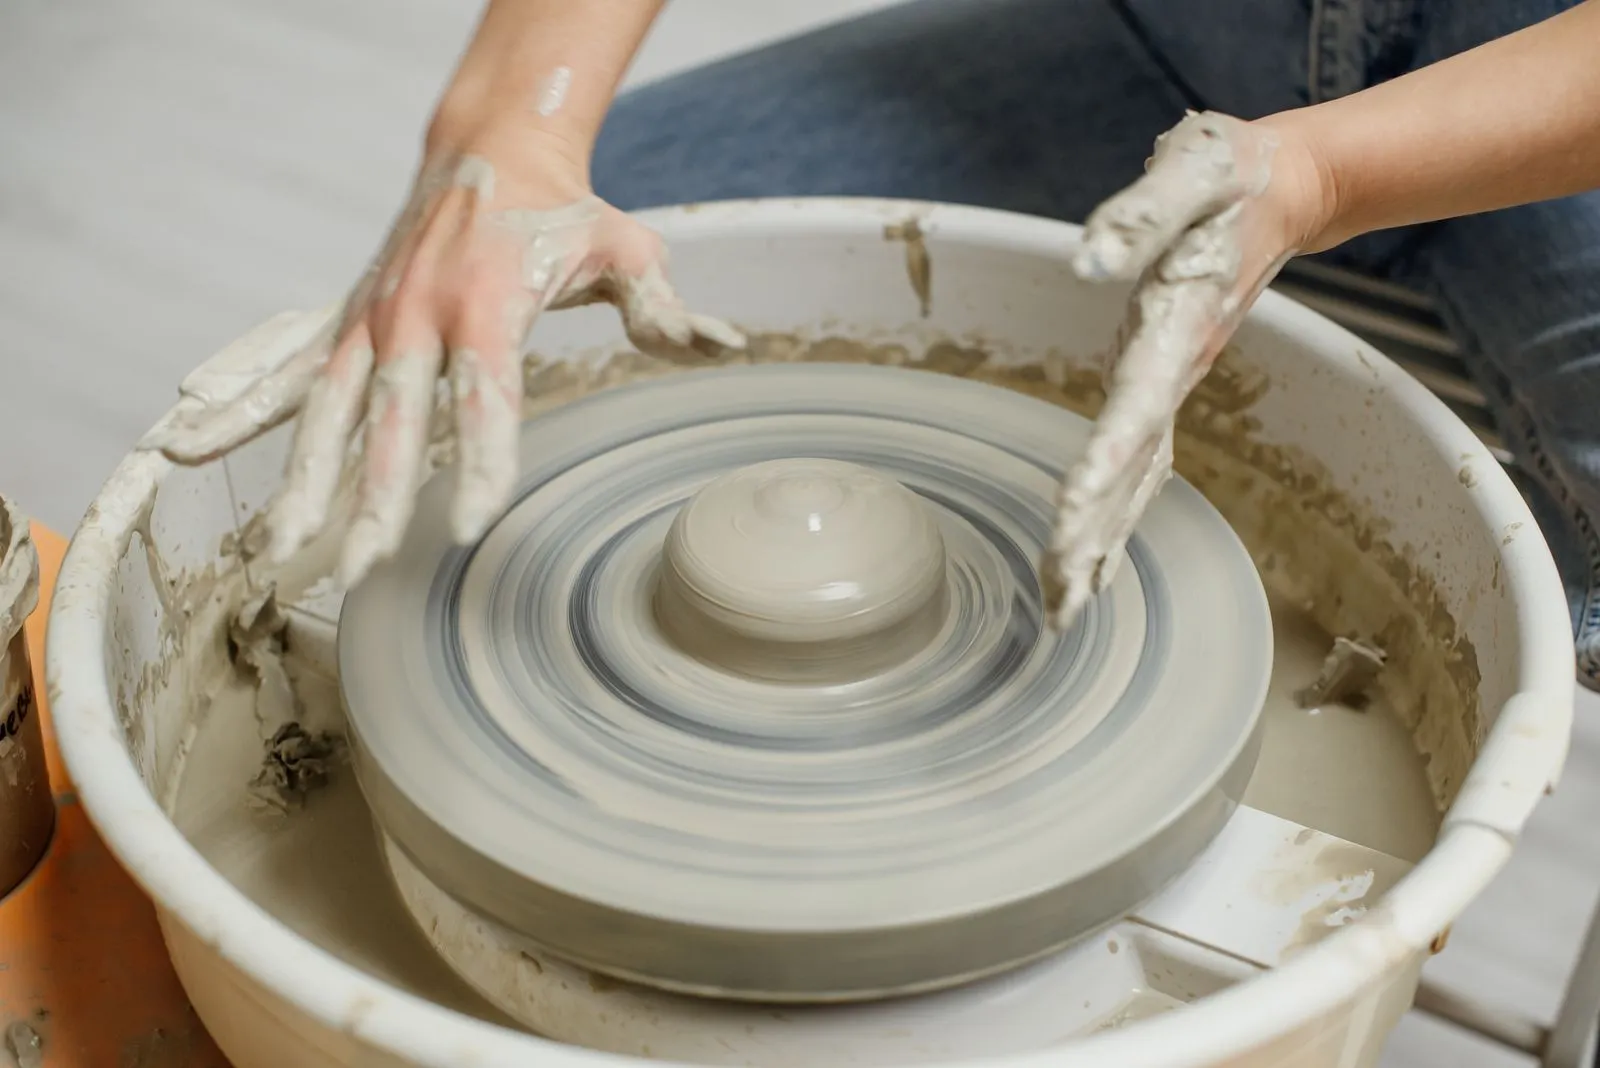
Wheel throwing begins by centering a lump of clay on the spinning wheel. You open the middle, shape the base, then pull the walls upward with even pressure. The wheel’s motion can feel unfamiliar at first, and small shifts in your hands affect the shape. Short practice sessions help you learn to control the clay before aiming for tall, symmetrical forms.
What you can make
Handbuilding suits pieces with angular shapes, sculptural details, or visible texture. Try a pinch bowl, a slab-built tray, a coil planter, or a small sculptural figure. You can make symmetrical pieces, too, but this approach gives you room to vary the shape and add details as you go. It’s a good match when you have a specific design in mind.
Wheel throwing naturally lends itself to round, balanced forms such as bowls, mugs, vases, and plates. You can make sets with a similar look once you develop consistent control, then trim the base and attach handles or other details. The wheel is especially useful when you want curved profiles, though adding handles and finishing details still takes handwork.
Choose your starting point
Pick handbuilding if you want a flexible, hands-on start, enjoy shaping clay directly, or are curious about texture and unusual forms. Choose wheel throwing if you’re drawn to round pottery and don’t mind repeating the basics while you build coordination. Both approaches involve patience: clay can crack if parts dry at different rates, and finished pieces need proper drying and kiln firing.
You don’t have to commit to just one. A handbuilding class can introduce clay without the added challenge of a spinning wheel, while a wheel class lets you test whether centering and shaping appeal to you. Boston Clay Works offers a way to explore pottery in Boston, but the best choice is the method that makes you eager to sit down and try again.
Handbuilding offers freedom with simple tools; wheel throwing gives you a path to rounded, balanced forms through practice. Both can produce useful, expressive pottery, and each benefits from patience as you learn how clay responds. If you’re curious, try a beginner session in either approach and see which one makes you want to keep shaping.